Pergola Installation (Full Process Explained in 10 Steps)
Date Posted: 07/02/24
Time To Read: 6 mins
Written By: Hook Agency
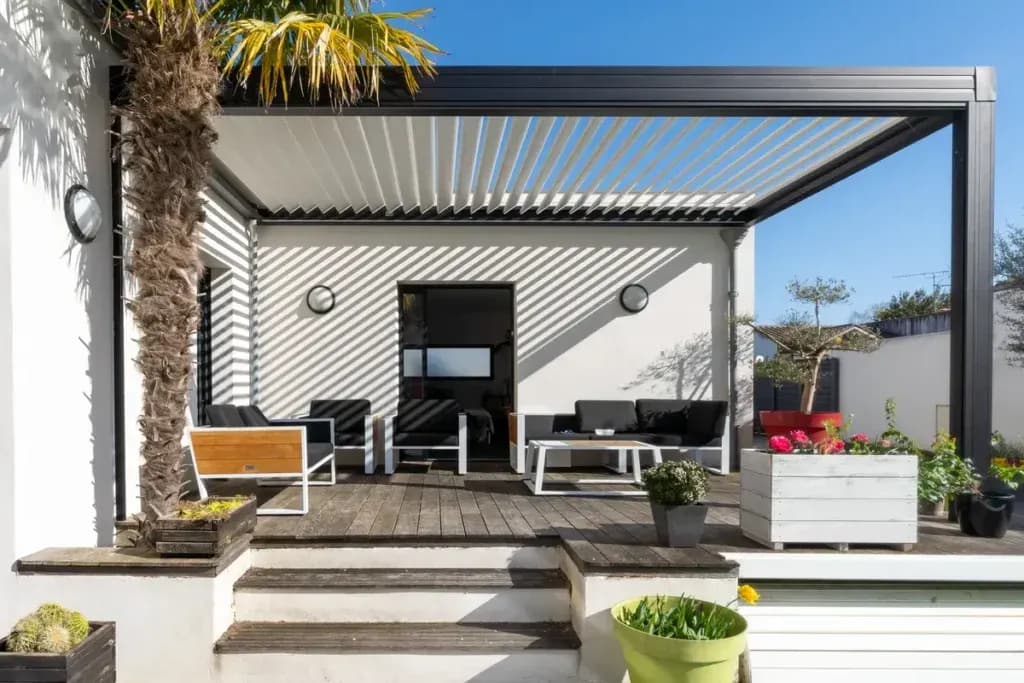
Ever dreamed of transforming your backyard into an oasis of relaxation and style? A pergola installation might be just what you need. Pergolas are not only visually appealing, but they also offer functional benefits for any outdoor living space:
- Enhanced Aesthetic Appeal: Pergolas add a touch of elegance and sophistication to your garden or patio.
- Increased Property Value: A well-built pergola can boost the resale value of your home.
- Additional Outdoor Living Space: Pergolas create an inviting outdoor room perfect for dining, lounging, or entertaining.
- Shade and Comfort: They provide much-needed shade on hot days, making your outdoor space more comfortable.
- Versatility in Design: Pergolas can be customized to match any style or preference, from rustic wood pergolas to sleek, modern designs.
Here, we’ll walk you through the complete pergola installation process in ten easy steps. By the end, you’ll be ready to start your own pergola project with confidence. Let’s get started!
1 Year deferred interest with no payments
Transform your outdoor living space with us! Fill out the form below to get started on your upgrade.
Our Outdoor Living Guide
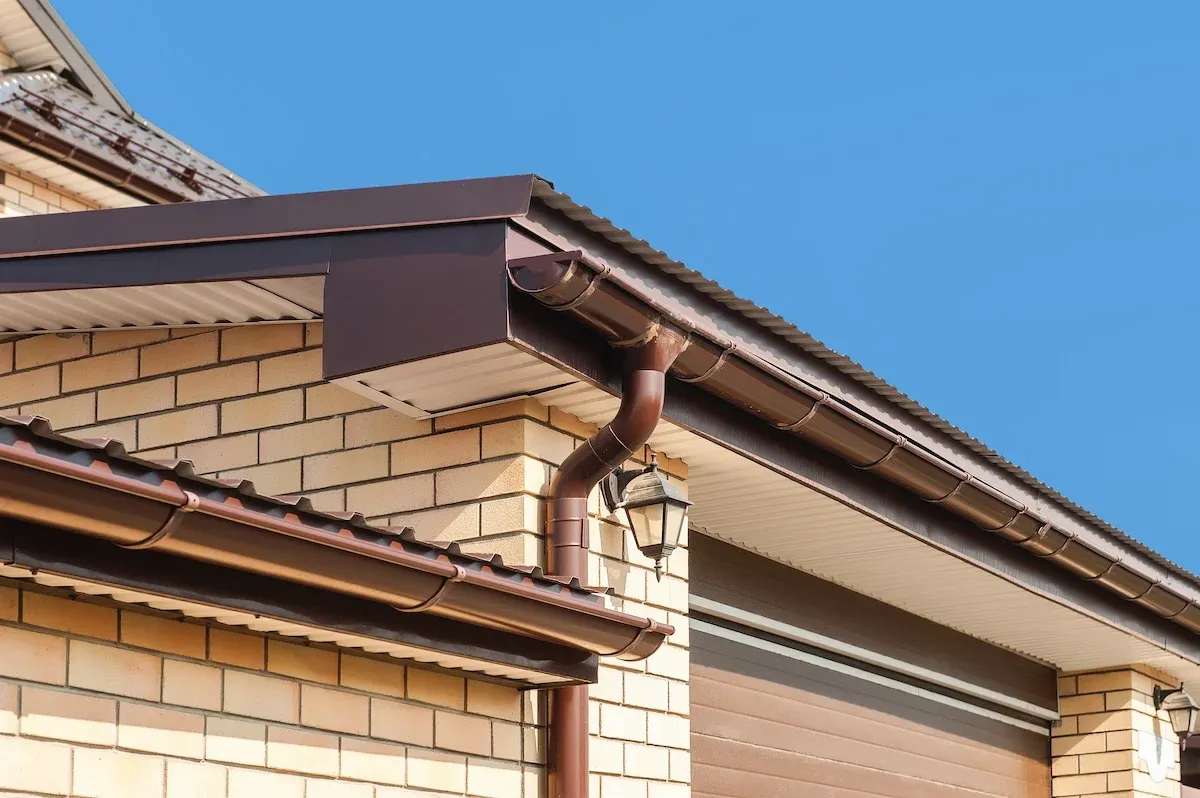
Gutter installation is a crucial home improvement project that protects your home from water damage and ensures proper drainage...
Open and exposed patios are available for the majority of the year in places like Florida and California, where the sun is usually out and temperatures don’t change drastically through the seasons...
Gutters might not be the first thing you think of when it comes to home improvement, but they’re a critical aspect of protecting your property...
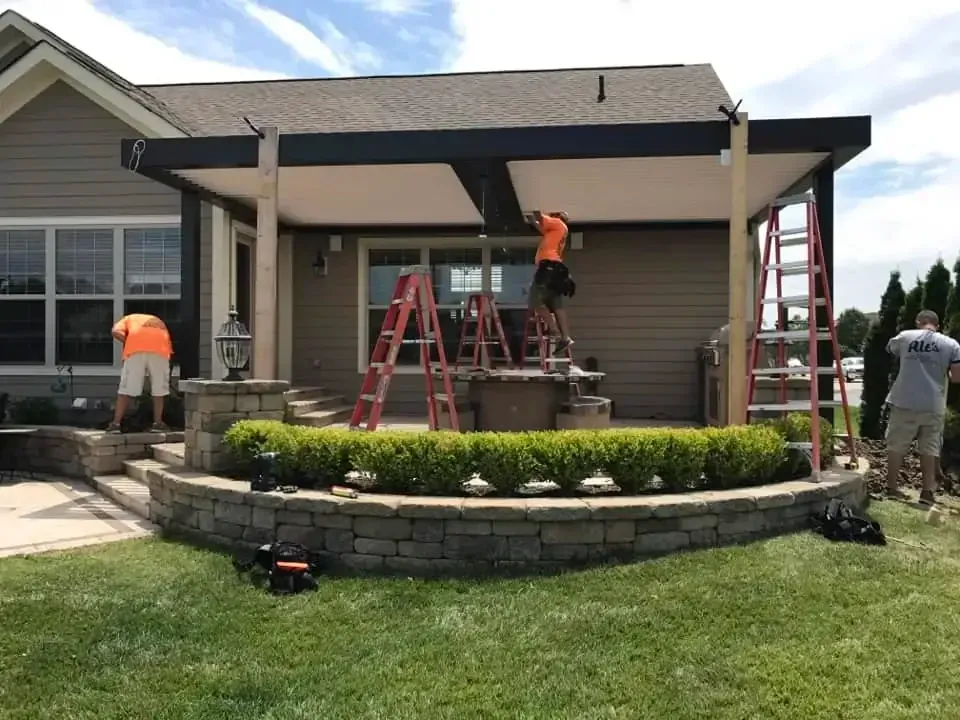
1. Planning Your Pergola Project
The first step in any successful pergola installation is careful planning. Begin by assessing your outdoor space and deciding where you want your pergola. Take into consideration the size, shape, and orientation to ensure it meets your needs. Next, research local building codes and obtain any necessary permits. You’ll also need to choose the materials—whether you prefer a classic wood pergola or something more contemporary.
Drawing up detailed plans and a budget will help keep your project on track and within financial limits.
2. Gathering Materials and Tools
Once you have your plans in place, it’s time to gather all the necessary materials and tools. For a standard pergola, you’ll need lumber, screws, bolts, a drill, a saw, a level, and concrete mix. Don’t forget safety gear, such as gloves and goggles.
Depending on your design, you might also need additional items like a pergola roof kit or decorative elements. Make sure you purchase high-quality materials to ensure the durability and longevity of your pergola.
3. Preparing the Site
Preparation is key to a successful pergola installation. Start by clearing the area where your pergola will be built. Remove any debris, plants, or furniture. Once the site is clean, mark out the perimeter of your pergola using stakes and string. This will give you a clear visual guide and help ensure your pergola is level and properly aligned.
If you’re building on grass or soil, you might need to dig holes for concrete piers. For a concrete patio or slab, you’ll simply anchor the pergola posts to the existing surface.
4. Laying the Foundation
If you’re using concrete piers, dig holes at each corner of your marked perimeter, ensuring they are deep enough to support the weight of your structure. Pour the concrete mix into the holes and insert metal post anchors. Allow the concrete to set according to the manufacturer’s instructions.
For a concrete slab, secure post bases using masonry anchors. This step provides the stability needed for your pergola to withstand weather elements and usage over time.
5. Installing the Support Posts
With your foundation in place, it’s time to install the support posts. Position the posts in the anchors or post bases and ensure they are perfectly vertical using a level. Brace them temporarily with stakes or wooden supports to keep them in place.
Check all measurements again for accuracy. Secure the posts by attaching them to the anchors with screws or bolts.
6. Attaching the Beams
Once the support posts are secure, the next step is to attach the beams. These horizontal members run parallel to each other and connect the posts. Cut the beams to length and notch them if necessary to fit around the posts. Lift the beams into position, ensuring they are level and evenly spaced. Secure them to the posts using heavy-duty screws or bolts.
7. Adding the Rafters
Rafters are the horizontal pieces that sit on top of the beams and span the width of the pergola. They help create the classic pergola look and provide shade.
Measure and cut the rafters to the desired length, then notch the ends so they fit snugly over the beams. Space the rafters evenly along the beams, using a consistent gap to ensure a uniform appearance. Secure each rafter with screws or nails.
8. Installing Crossbeams and Braces
For added stability and visual interest, you may want to include crossbeams and braces. Crossbeams run perpendicular to the rafters and provide additional support.
Cut and notch the crossbeams to fit over the rafters, then secure them in place. Braces are diagonal supports that strengthen the joints between the posts and beams. Cut the braces to length and attach them using screws or bolts.
These elements not only reinforce the structure but also add intricate details to your pergola’s design.
9. Finishing Touches
Sand any rough edges or surfaces to ensure a smooth finish. Apply a weather-resistant sealant or paint to protect the wood from the elements. Consider adding a pergola roof or canopy for extra shade and protection. You can also incorporate decorative elements such as climbing plants, string lights, or outdoor curtains to enhance the aesthetic appeal of your pergola.
These final touches help personalize your pergola and make it a true extension of your home.
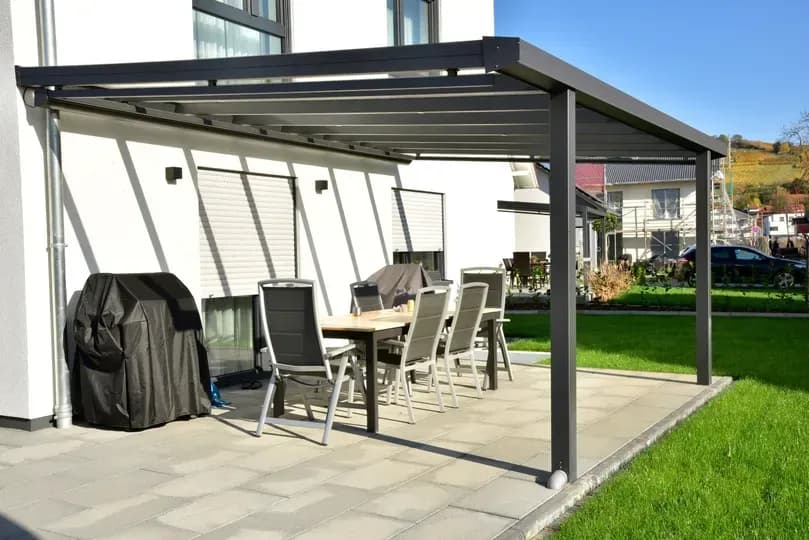
10. Enjoying Your New Pergola
Arrange outdoor furniture, create a cozy seating area, or set up a dining space under your new pergola. Invite friends and family over for a gathering or simply relax in your new outdoor room. The possibilities are endless.
Your pergola is more than just a structure—it’s a versatile space that enhances your outdoor living experience.
Start Your Pergola Project Today
A pergola is a fantastic addition to any home, offering both beauty and functionality. By following these ten steps, you can successfully install your own pergola and transform your outdoor space into a haven of comfort and style.
If you have any questions or need further assistance, don’t hesitate to connect with Altimate Outdoor. Our team of experts is here to help you every step of the way. Happy building!
How Our Customers Get Outdoors

“Altimate did a great job communicating with me, throughout my project. Their attention to detail made all the difference and I highly recommend meeting with them!”
Danny W.

“We had retractable screens installed on our outdoor porch and could not be happier. The screens have made our porch another living space and affords us privacy on a busy golf course. We would highly recommend and were impressed with the turnaround time and professionalism from start to finish.”
Francis S.

“They put up my Struxure X outdoor pergola. I couldn't be happier. The product is amazing. The individuals involved in putting it up were all very kind, professional, and hard working! I WILL have them build SE fore again!”
Michael M.

“Great company, they have been working hard for years. Great example of what a company is supposed to be. Family oriented and quality customer service is a must.”
Eric H.

“Excellent experience, quality installation and communication. Friendly workers and total cleanup of work site. Two thumbs up.”
Frank B.

“They installed the StruXure pergola. They were very neat and professional. Had a minor problem and they came and fixed it.”
Ann S.

“Wait time was not as long as they said. They got the job done quickly and quietly.”
Melanie S.

“I was so impressed with their professional installation. They removed my old spouting and downspouts. They recommended the 6” spouting to handle our 2100 square foot ranch home. After seeing how nice it looks I should have done it years ago. I would highly recommend them.”
Tony A.

“We had a pergola put in a couple years ago and absolutely love it. I had a question today and sent a msg to them....recieved a call back within 30 minutes with a solution! Amazing and Best Customer Service Around! Thank you!!”
Becky S.
Answering Your Outdoor Living Questions
Our business was founded with customer satisfaction in mind. Not only do we have the skills to build a beautiful outdoor space, but we also don’t rest until it is exactly to your satisfaction.
Contact us either through our website or by phone, and one of our trained customer service professionals will assist you in scheduling your appointment.
Yes. Our in-house design team offers complementary design consultations.
Yes, we offer financing through Greensky! Take a look at our financing page for more information.
Start Your Outdoor Living Journey Today
Contact Us
-1440x794.png&w=1920&q=75&dpl=dpl_Ee8AsL879wr9qaFDdZC2sDnddoJQ)
Mon-Fri: 8:00am-4:30pm
Sat-Sun: Closed
Mon-Fri: 8:00am-4:30pm
Sat-Sun: Closed