How to Build a Pergola (DIY Guide)
Date Posted: 07/02/24
Time To Read: 5 mins
Written By: Hook Agency
Creating an inviting outdoor space can transform your home, and one of the best ways to do that is by building your own pergola. Not only does a pergola add elegance and charm to your backyard, but it also provides a functional space for relaxation or entertaining guests. Plus, there are tons of great reasons to build your own pergola:
- Cost-Effective: Building your own pergola can save you a significant amount of money compared to hiring professionals.
- Customization: When you build your own pergola, you have complete control over the design, size, and materials, allowing you to create a pergola that perfectly fits your space and style.
- Satisfaction: Completing a DIY project like this brings a sense of accomplishment and pride in your home.
In this comprehensive guide, we’ll walk you through each step of building a pergola, making the process simple and enjoyable. Whether you’re a seasoned DIY enthusiast or a homeowner looking to add a personal touch to your garden, this guide is for you.
1 Year deferred interest with no payments
Transform your outdoor living space with us! Fill out the form below to get started on your upgrade.
Our Outdoor Living Guide
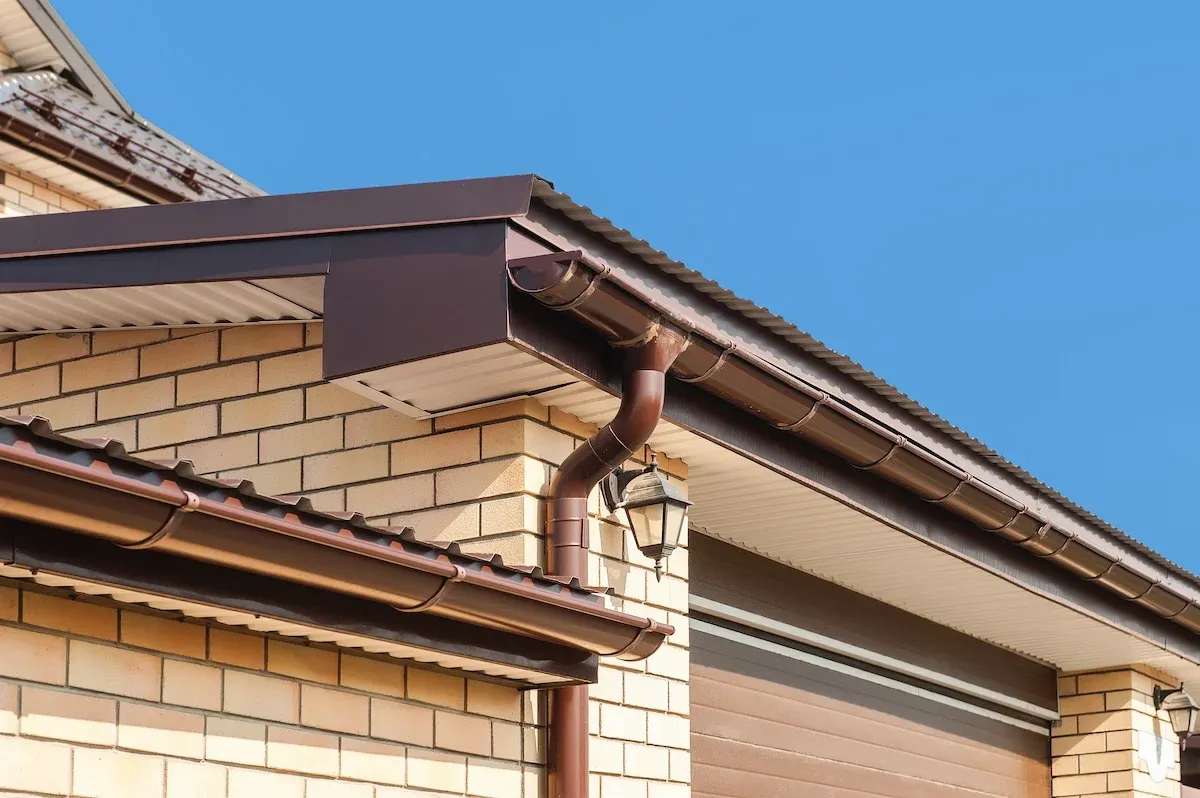
Gutter installation is a crucial home improvement project that protects your home from water damage and ensures proper drainage...
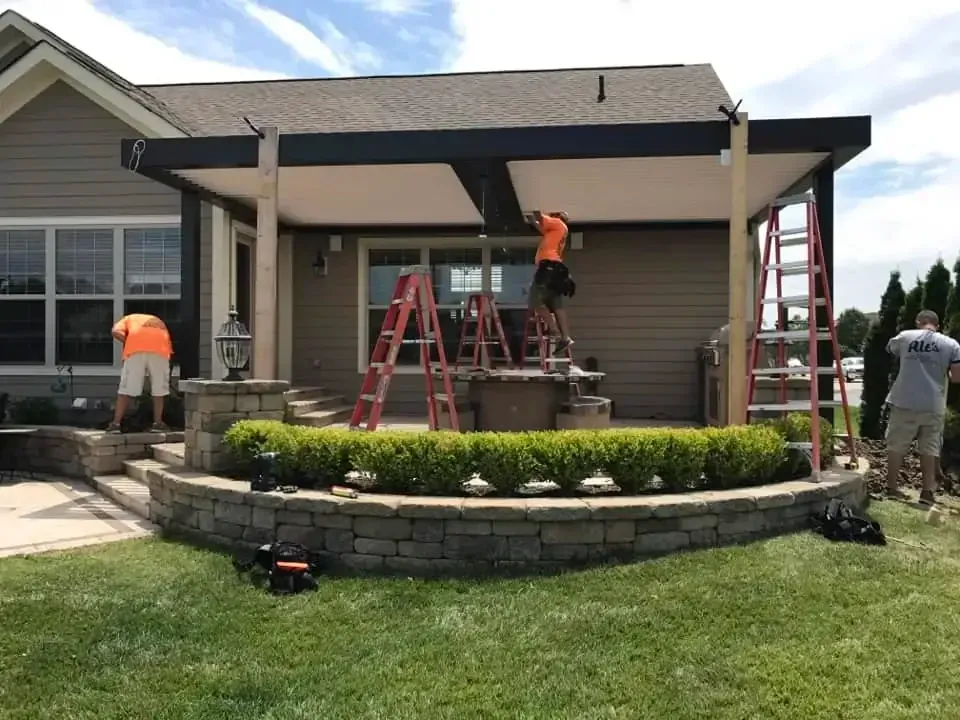
Open and exposed patios are available for the majority of the year in places like Florida and California, where the sun is usually out and temperatures don’t change drastically through the seasons...
Gutters might not be the first thing you think of when it comes to home improvement, but they’re a critical aspect of protecting your property...
1. Planning and Designing Your Pergola
The first step in building your own pergola is thorough planning and designing. Start by determining the location and size of your pergola. Consider factors such as sun exposure, proximity to your house, and the layout of your existing patio. Once you have a general idea of where your pergola will go, it’s time to think about the design.
Choosing Your Design
There are endless design options when it comes to pergolas, so take some time to research and find inspiration for your own project. From classic wooden structures to modern metal designs, there’s a style for every taste.
- Materials: The most common materials used for building a pergola are wood, vinyl, and metal. Each has its pros and cons, so choose based on your personal preferences and budget.
- Size: Pergolas can range from small intimate structures to large, elaborate ones. Consider your space and how you plan to use the pergola when determining the size.
- Style: Do you prefer a traditional pergola with lattices or a more modern design with clean lines? Think about what will complement your home’s aesthetic.
Drafting Your Design
Sketch your design on paper, including the dimensions and any additional features you want, such as climbing plants or hanging lights. Make sure to check local building codes and regulations to ensure your design complies with any restrictions.
2. Gathering Tools and Materials
With your design in hand, it’s time to gather the necessary tools and materials. Here’s a list of what you’ll need:
- Tools: Circular saw, combination square, tape measure, level, drill, circular saw, and a shovel.
- Materials: Wooden posts, beams, rafters, screws, concrete mix, and joist hangers.
Ensure you have all the tools and materials ready before you start. This will make the construction process smoother and more efficient. Double-check measurements and quantities to avoid any mid-project surprises.
Although the specific tools and materials will vary based on your design, having a basic checklist like this can be helpful in ensuring you have everything you need.
3. Preparing the Site
Begin by marking the locations for your pergola’s posts. Use stakes and string to outline the perimeter, ensuring the lines are straight and the corners are square. A combination square and chalk can be helpful here.
Next, dig holes for the posts. The depth and width of the holes will depend on the size of your wooden posts and the height of your pergola. A general rule of thumb is to dig holes at least 24 inches deep to provide stability.
Once the holes are dug, pour a few inches of gravel into the bottom for drainage. Place the posts into the holes and use a level to ensure they are plumb. Pour concrete mix around the posts and allow it to set according to the manufacturer’s instructions.
4. Constructing the Frame
With the posts securely in place, it’s time to construct the frame of your pergola. Start by attaching the horizontal beams to the posts using lag bolts. These beams will form the outer frame and support the rafters.
Measure and mark the locations for the rafters on the beams. Use a combination square to ensure the marks are perpendicular lines. Pre-drill holes at each mark to prevent splitting the wood..
Cut the rafters to length using a circular saw. If your design includes decorative ends, make those cuts as well. Attach the rafters to the beams using joist hangers and screws. Ensure the rafters are evenly spaced and secure.
5. Adding Crossbeams and Finishing Touches
The final step in building your pergola is adding the crossbeams and any finishing touches. The crossbeams will provide additional support and create the lattice-like top of your pergola.
Measure and cut the crossbeams to length. Use a combination square to mark where the crossbeams will intersect with the rafters. Pre-drill holes and attach the crossbeams using screws. Make sure the crossbeams are evenly spaced and secure.
Once the structure is complete, you can add any finishing touches. Sand any rough edges and apply a weather-resistant sealant or paint to protect the wood from the elements. You can also add climbing plants, hanging lights, or outdoor curtains to enhance the beauty and functionality of your pergola.
You might even consider adding furniture or a fire pit to create the perfect outdoor oasis. The possibilities are endless with your own pergola.
Start Your Project Today
Building your own pergola is a rewarding project that can significantly enhance your outdoor living space. By following these steps, you can create a beautiful and functional pergola that reflects your personal style and meets your needs.
If you find yourself needing assistance or want to ensure the best results, don’t hesitate to reach out to Altimate Outdoor. Our team of professionals is here to help you with your pergola installation project, ensuring a high-quality and stress-free experience. Contact us today to get started on your dream pergola!
How Our Customers Get Outdoors

“Altimate did a great job communicating with me, throughout my project. Their attention to detail made all the difference and I highly recommend meeting with them!”
Danny W.

“We had retractable screens installed on our outdoor porch and could not be happier. The screens have made our porch another living space and affords us privacy on a busy golf course. We would highly recommend and were impressed with the turnaround time and professionalism from start to finish.”
Francis S.

“They put up my Struxure X outdoor pergola. I couldn't be happier. The product is amazing. The individuals involved in putting it up were all very kind, professional, and hard working! I WILL have them build SE fore again!”
Michael M.

“Great company, they have been working hard for years. Great example of what a company is supposed to be. Family oriented and quality customer service is a must.”
Eric H.

“Excellent experience, quality installation and communication. Friendly workers and total cleanup of work site. Two thumbs up.”
Frank B.

“They installed the StruXure pergola. They were very neat and professional. Had a minor problem and they came and fixed it.”
Ann S.

“Wait time was not as long as they said. They got the job done quickly and quietly.”
Melanie S.

“I was so impressed with their professional installation. They removed my old spouting and downspouts. They recommended the 6” spouting to handle our 2100 square foot ranch home. After seeing how nice it looks I should have done it years ago. I would highly recommend them.”
Tony A.

“We had a pergola put in a couple years ago and absolutely love it. I had a question today and sent a msg to them....recieved a call back within 30 minutes with a solution! Amazing and Best Customer Service Around! Thank you!!”
Becky S.
Answering Your Outdoor Living Questions
Our business was founded with customer satisfaction in mind. Not only do we have the skills to build a beautiful outdoor space, but we also don’t rest until it is exactly to your satisfaction.
Contact us either through our website or by phone, and one of our trained customer service professionals will assist you in scheduling your appointment.
Yes. Our in-house design team offers complementary design consultations.
Yes, we offer financing through Greensky! Take a look at our financing page for more information.
Start Your Outdoor Living Journey Today
Contact Us
-1440x794.png&w=1920&q=75&dpl=dpl_Ee8AsL879wr9qaFDdZC2sDnddoJQ)
Mon-Fri: 8:00am-4:30pm
Sat-Sun: Closed
Mon-Fri: 8:00am-4:30pm
Sat-Sun: Closed