
How to Install a Patio Privacy Screen (In 10 Steps)
Date Posted: 06/05/24
Time To Read: 5 mins
Written By: Hook Agency
Summer is around the corner, and it’s the perfect time to enjoy your outdoor space. Here are some of the wonderful things about summer:
- Longer daylight hours to spend with family and friends.
- Warm weather inviting you to dine al fresco.
- Blooming gardens that provide a picturesque backdrop.
- The opportunity to engage in outdoor activities like barbecues and picnics.
- A general sense of relaxation and vacation vibes.
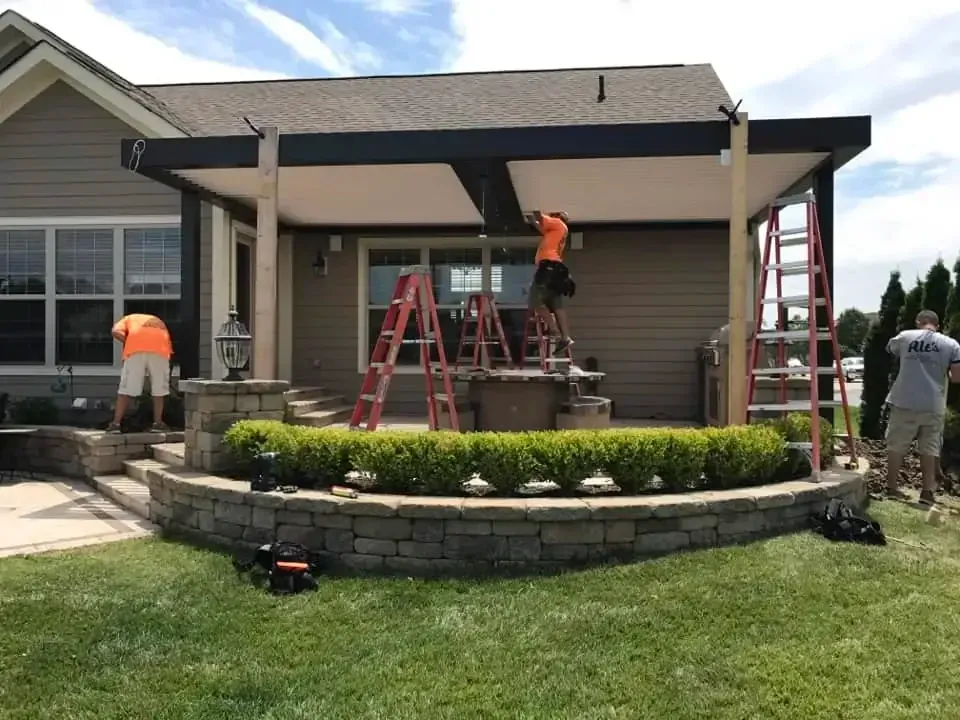
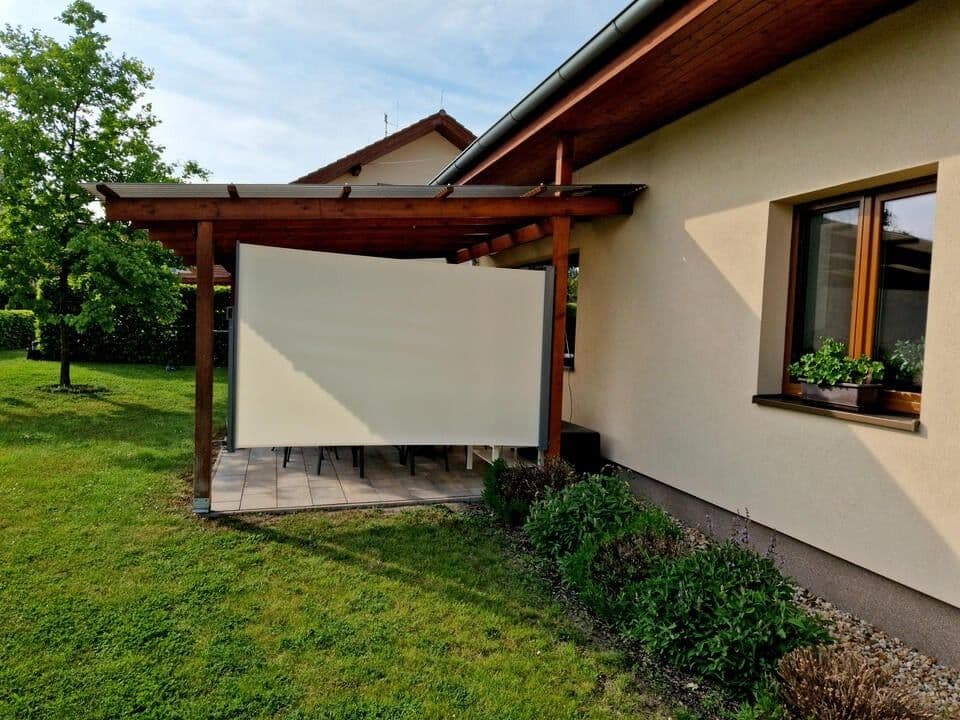
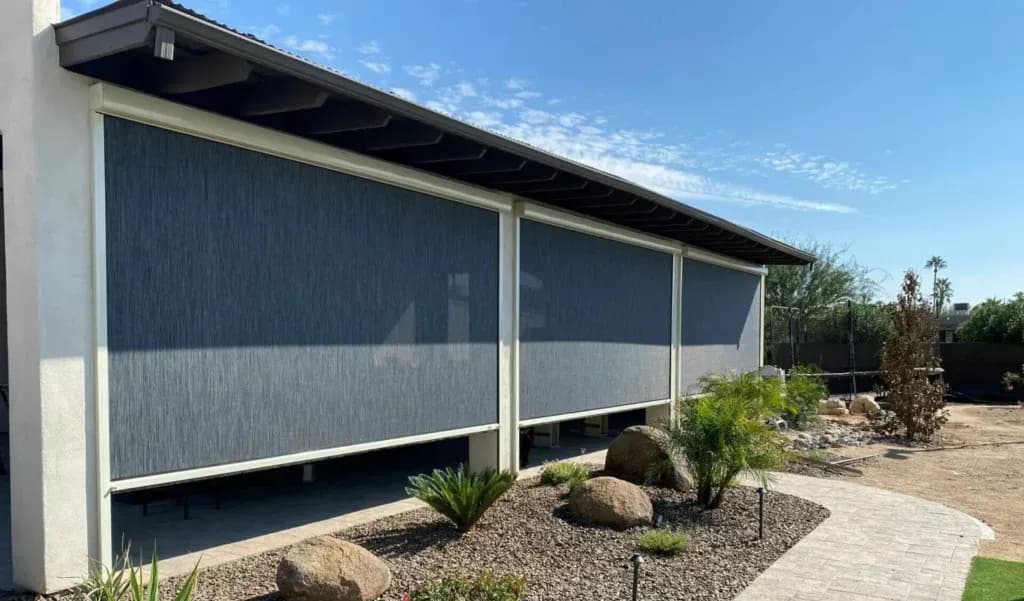
While it’s wonderful to spend time outside, sometimes you want to relax in solitude. Installing a patio privacy screen can help keep you sheltered and comfortable. Here’s a detailed guide on how to install one yourself in 10 steps.
1 Year deferred interest with no payments
Transform your outdoor living space with us! Fill out the form below to get started on your upgrade.
Our Outdoor Living Guide
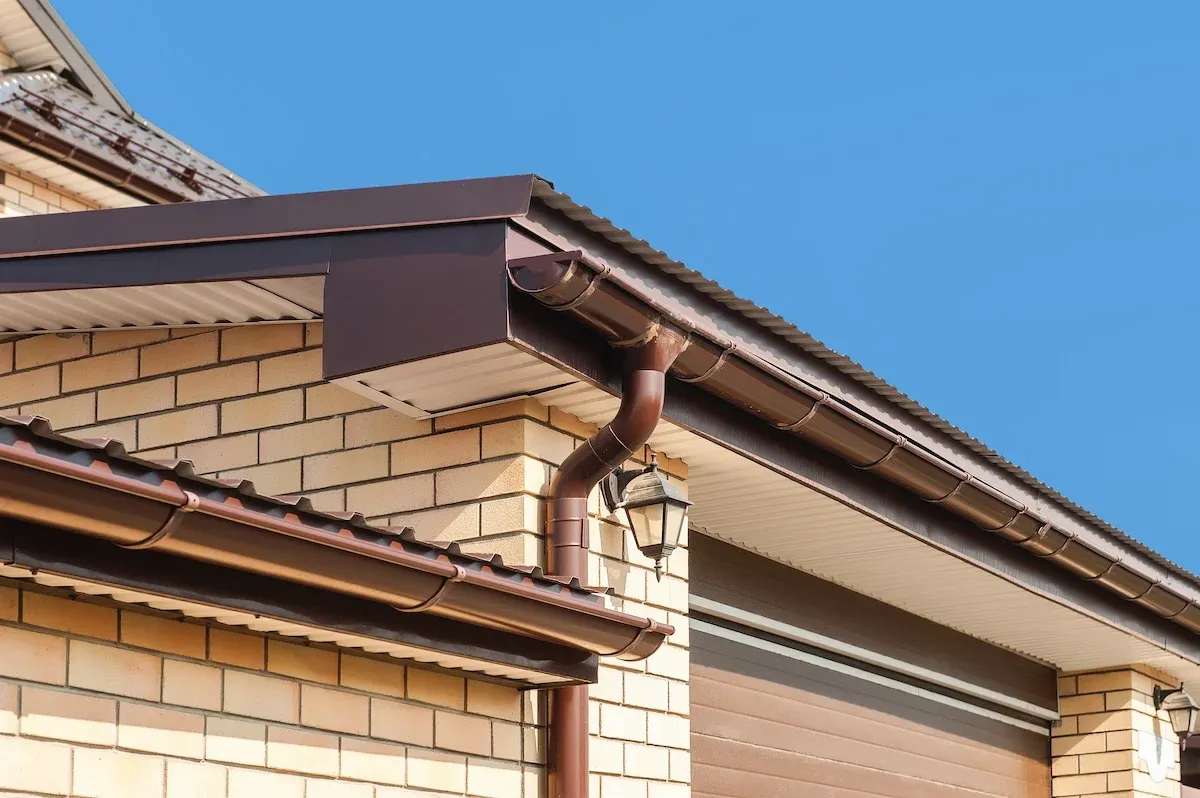
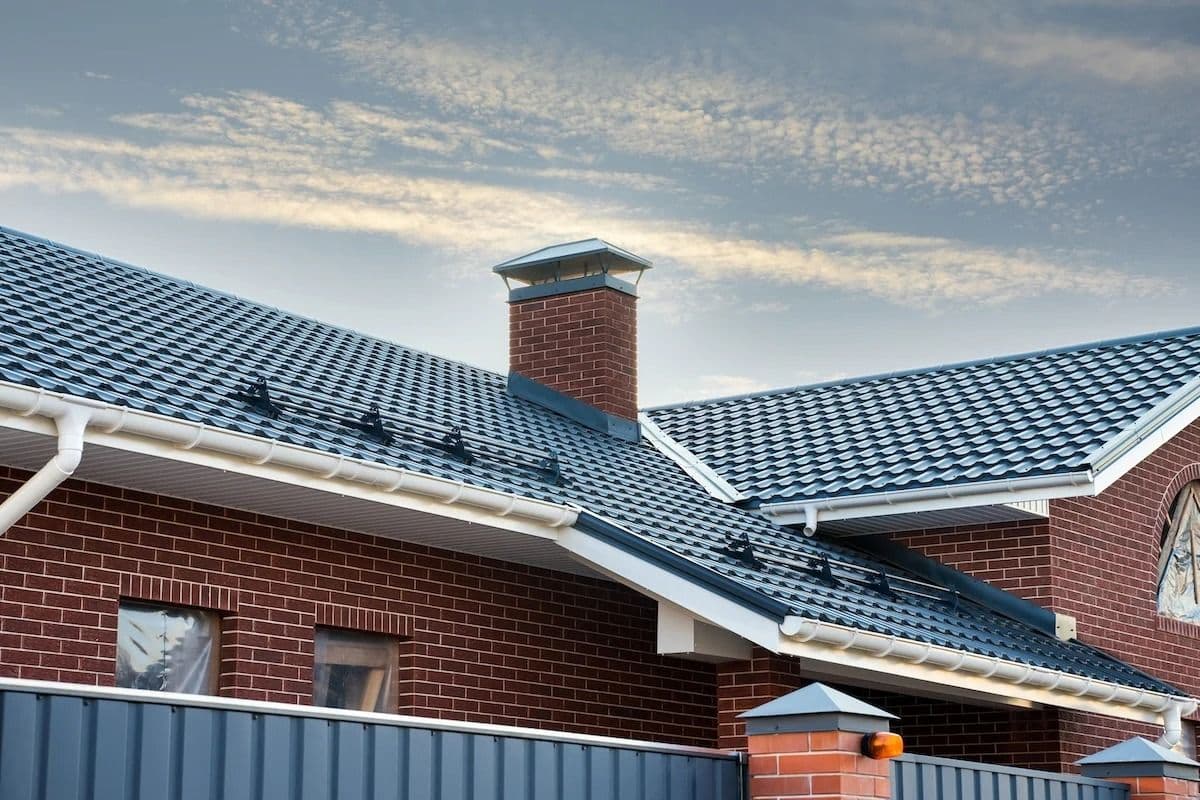
Gutter installation is a crucial home improvement project that protects your home from water damage and ensures proper drainage...
Open and exposed patios are available for the majority of the year in places like Florida and California, where the sun is usually out and temperatures don’t change drastically through the seasons...
Gutters might not be the first thing you think of when it comes to home improvement, but they’re a critical aspect of protecting your property...
1. Gather Your Tools and Materials
Before you start, ensure you have all the necessary tools and materials for the job. Being well-prepared will make your privacy screen installation process smoother and more enjoyable.
Tools:
- Measuring tape
- Post hole digger or auger
- Level
- Power drill with screwdriver bits
- Circular saw or hand saw (if cutting is required)
- Rubber mallet
- Safety goggles and gloves
Materials:
- Privacy screen panels (vinyl, wood, bamboo, or metal based on your preference)
- Posts (wooden or metal)
- Concrete mix for securing posts
- Screws or bolts (suitable for the material of your screen panels)
- Paint or wood sealant (if using wooden materials)
- Gravel for drainage (optional but recommended)
You can find all these materials at your local hardware store or home improvement center. Remember to measure and plan out the dimensions of your screen before purchasing the materials, and plan to purchase a little extra to account for any mistakes.
2. Choose Your Location and Plan Your Layout
The first step in installing a patio privacy screen is choosing the location. Consider factors such as sun exposure, wind direction, and potential obstacles like trees or furniture. Once you’ve selected the perfect spot, determine the desired height and width of your screen.
Use a measuring tape to measure the length of the area you want to cover. Mark the positions where the posts will be placed, ensuring they are evenly spaced. Typically, posts should be spaced 6-8 feet apart, depending on the material and size of your panels.
You can either purchase pre-made panels or create a custom design using individual materials. Pre-made panels are easier to install but may not fit your exact specifications. Custom designs give you more flexibility but require extra time and effort.
3. Dig the Post Holes
Using a post hole digger or auger, dig holes for your posts at the marked positions. The depth of the holes should be one-third the height of the posts for stability (e.g., for an 8-foot post, dig 2.5-3 feet deep). The width of the holes should be about three times the width of the posts.
Keep in mind any underground utilities or irrigation systems that may be in the area. It’s best to consult with a professional if you’re unsure.
4. Position the Posts
Place a few inches of gravel at the bottom of each hole for drainage. Position the posts in the holes, ensuring they are upright and level. Use a level to check the vertical alignment. Temporarily brace the posts with scrap wood to keep them in place.
It can be helpful to have someone assist you with this step, especially if the posts are heavy or large.
5. Secure the Posts with Concrete
Mix the concrete according to the manufacturer’s instructions. Pour the concrete into the holes around the posts, filling up to ground level. Use a rubber mallet to gently tap the posts and ensure the concrete settles evenly. Allow the concrete to cure as per the manufacturer’s guidelines, usually 24-48 hours.
When working with concrete, remember to wear protective gear and follow safety precautions.
6. Attach the Privacy Screen Panels
Once the concrete has cured, you can begin attaching the privacy screen panels to the posts. Start by positioning the first panel against the posts and use a level to ensure it is straight. Secure the panel using screws or bolts, depending on the material. Repeat the process for each panel, ensuring they are all level and evenly spaced.
While it’s tempting to skip leveling at this stage to save time on the project, it’s crucial for a professional and visually appealing finish. Invest the energy now to avoid problems in the future.
7. Cut Panels to Fit (If Necessary)
If you need to adjust the length or height of your panels to fit your layout, use a circular saw or hand saw. Measure carefully and mark where you need to cut. Make sure to wear safety goggles and gloves while cutting.
8. Paint or Seal (For Wooden Screens)
If you’re using wooden privacy screens, it’s crucial to protect them from the elements. Apply a coat of paint, stain, or wood sealant to the panels and posts. This step will not only enhance the appearance but also increase the longevity of your screen. Allow the finish to dry completely before proceeding.
9. Add Finishing Touches
Check all the screws and bolts to ensure they are tight and secure. If there are any gaps between the panels and posts, use caulk or sealant to fill them. You can also add decorative elements like climbing plants, hanging lights, or outdoor art to personalize your privacy screen.
10. Enjoy Your New Private Oasis
Congratulations! You’ve successfully installed your patio privacy screen. Now you can enjoy your outdoor space in comfort and privacy.
Patio Privacy Screens Done Right
Installing a patio privacy screen is a fantastic way to create a secluded and sheltered outdoor area for relaxation and entertainment. By following these detailed steps, homeowners can easily complete this DIY project and enjoy the benefits of added privacy in their backyard.If you prefer a professional touch, contact Altimate Outdoor for premium outdoor privacy screen installation services. Our team of experts is ready to help you create the perfect outdoor oasis tailored to your needs.
How Our Customers Get Outdoors

“Altimate did a great job communicating with me, throughout my project. Their attention to detail made all the difference and I highly recommend meeting with them!”
Danny W.

“We had retractable screens installed on our outdoor porch and could not be happier. The screens have made our porch another living space and affords us privacy on a busy golf course. We would highly recommend and were impressed with the turnaround time and professionalism from start to finish.”
Francis S.

“They put up my Struxure X outdoor pergola. I couldn't be happier. The product is amazing. The individuals involved in putting it up were all very kind, professional, and hard working! I WILL have them build SE fore again!”
Michael M.

“Great company, they have been working hard for years. Great example of what a company is supposed to be. Family oriented and quality customer service is a must.”
Eric H.

“Excellent experience, quality installation and communication. Friendly workers and total cleanup of work site. Two thumbs up.”
Frank B.

“They installed the StruXure pergola. They were very neat and professional. Had a minor problem and they came and fixed it.”
Ann S.

“Wait time was not as long as they said. They got the job done quickly and quietly.”
Melanie S.

“I was so impressed with their professional installation. They removed my old spouting and downspouts. They recommended the 6” spouting to handle our 2100 square foot ranch home. After seeing how nice it looks I should have done it years ago. I would highly recommend them.”
Tony A.

“We had a pergola put in a couple years ago and absolutely love it. I had a question today and sent a msg to them....recieved a call back within 30 minutes with a solution! Amazing and Best Customer Service Around! Thank you!!”
Becky S.
Answering Your Outdoor Living Questions
Our business was founded with customer satisfaction in mind. Not only do we have the skills to build a beautiful outdoor space, but we also don’t rest until it is exactly to your satisfaction.
Contact us either through our website or by phone, and one of our trained customer service professionals will assist you in scheduling your appointment.
Yes. Our in-house design team offers complementary design consultations.
Yes, we offer financing through Greensky! Take a look at our financing page for more information.
Start Your Outdoor Living Journey Today
Contact Us
-1440x794.png&w=1920&q=75&dpl=dpl_Ee8AsL879wr9qaFDdZC2sDnddoJQ)
Mon-Fri: 8:00am-4:30pm
Sat-Sun: Closed
Mon-Fri: 8:00am-4:30pm
Sat-Sun: Closed